Send Invoices
A guide to the Invoice tab in Accept's dashboard.
- An invoice is a standalone payment tool that helps you to receive payments from your customer without integrating with Accept.
- The invoice tab allows you to generate an invoice payment link.
- The invoice payment is valid for only one payment.
Invoice tab
- In your dashboard, click on the "Invoices" tab you can find it in your navigation board placed on the left side.
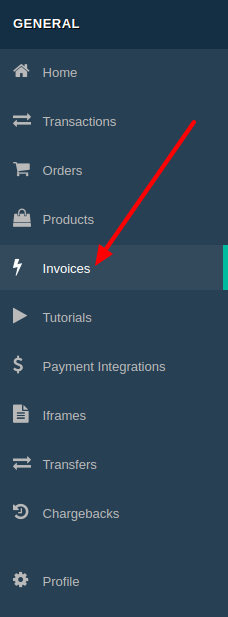
Accept Dashboard - Invoice tab.
- You should see a view similar to the one in the image below, this is your invoice interface, from which you can create your invoices with the price and the needed customer details.
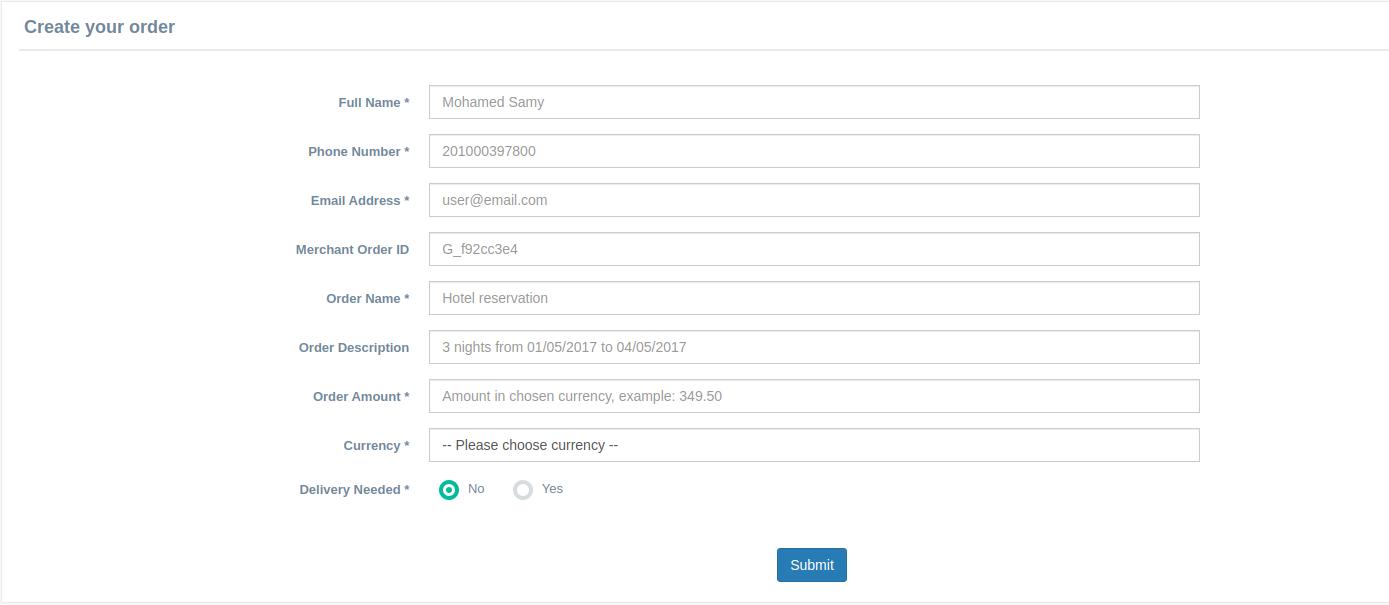
Accept Dashboard - Invoice tab.
Full Name: Your customer full name.
Phone Number: Your customer contact number.
Email Address: The email address on which your customer will receive notification after performing his payment.
Merchant Order ID: A field in which you can set your own reference to your orders, might be a string or integer or mix of both, choose what fits your reference convention :wink+:
Remember this field is unique per order, which means that you cannot use the same merchant order ID for more than one order.
Order Name: A human-readable naming to your order which will be displayed to your customers on the checkout page.
Order Description: A field in which you can add a description to your order contents.
Order Amount: The price of your order in cents, for example, if your order price is 1000 pounds, it should be written as 100000, 100 pounds should be "10000" and so on.
Currency: The currency that you'll accept your payment with "EGP, USD, etc...".
After choosing the desired currency, a list with your available payment methods will appear to you, please choose the payment method you want your customer to pay for you through.
You can choose one or more than one payment method to offer your customer to pay through.
By default, your account is created with an EGP credit card integration ID, to know more about creating/managing your payment integration please check the Payment Integrations guide.
Delivery Needed: Set it to True if you will deliver your order through our order delivery service, or set it to be False in case your service don't need to be delivered.
- After creation, your invoice creation page should look like the example image below.
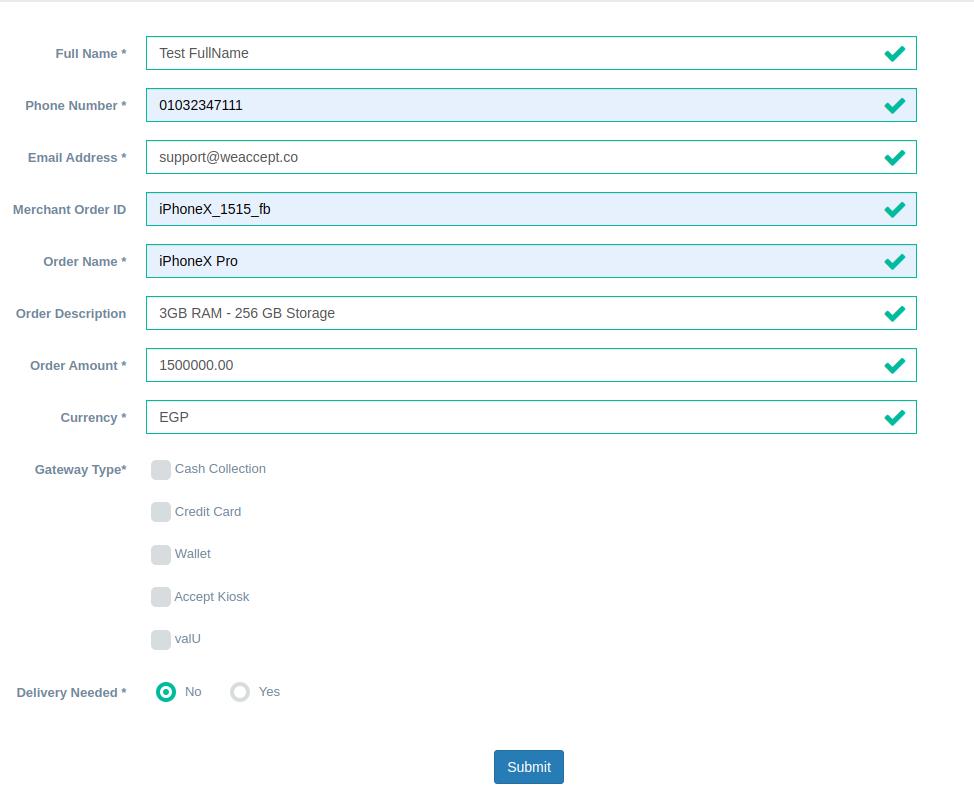
Accept dashboard - Invoice Creation Details.
Click on submit, and that's it :tada+:
Now your invoice is ready to be paid for.
- After clicking on submit, you will be redirected to your invoice details.

Accept dashboard - Invoice Link.
Now, share the link found in the Order Link field with your customer, this is where he can pay for your order through.
- Your customer should be redirected to a page similar to the one below.
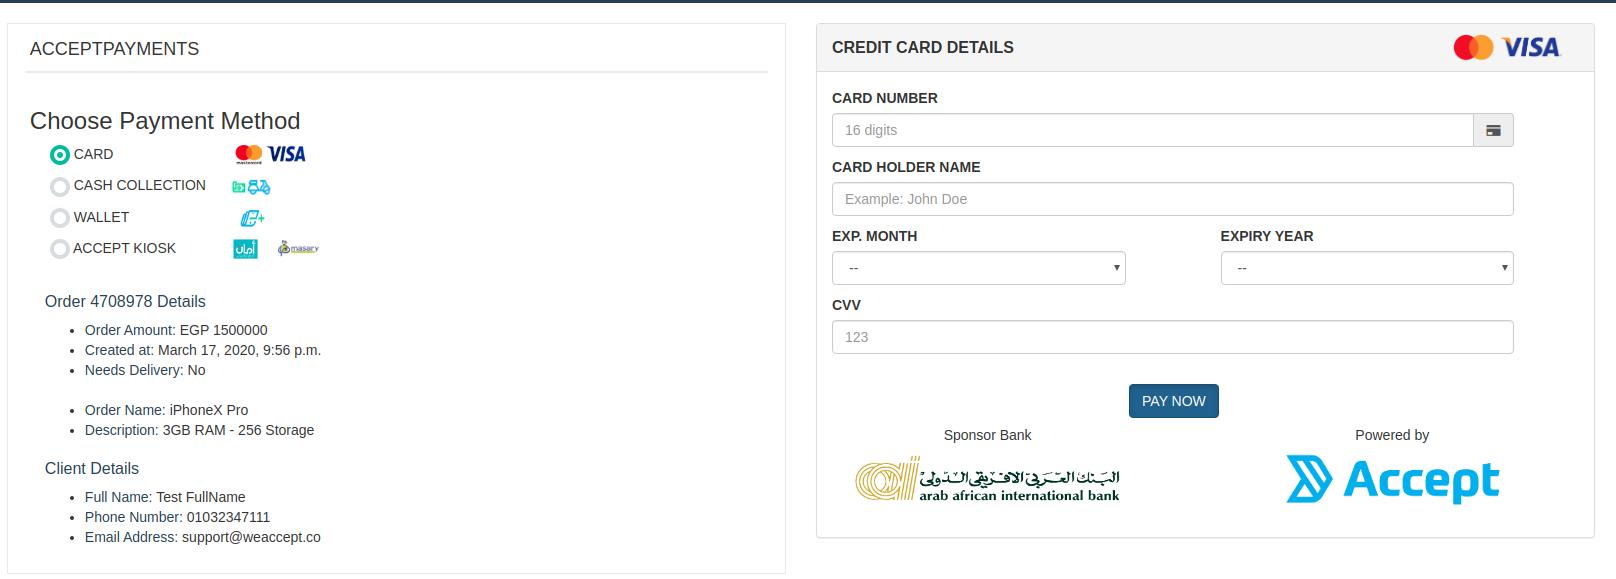
Accept dashboard - Invoice Pay.
Now your customer can choose which payment channel he wishes to perform his payment through.
If you're using a test integration IDs, please use one of these test credentials along with it to test your checkout experience.
- If you want to check your created invoices, click on the orders tab in your navigation board, then click on your order invoice as viewed below.
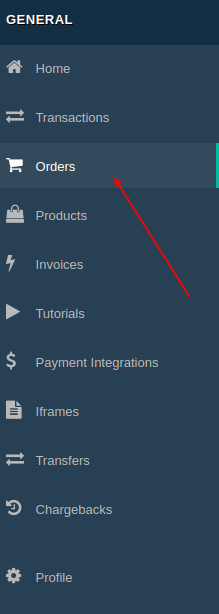
Accept dashboard - Navigation Board, Orders.

Accept dashboard - Order tab details.
You have just created your invoice successfully
Now please share the invoice link with your user in order to pay for it.
Updated 5 months ago
